Pool + Garden Fair Tulln March 27 to 30, 2025
We look forward to your visit!
Aluminum window sills are the most common option, especially for outdoor areas. Even if they don't look very elegant, they have the advantage of being easy to clean and extremely durable.
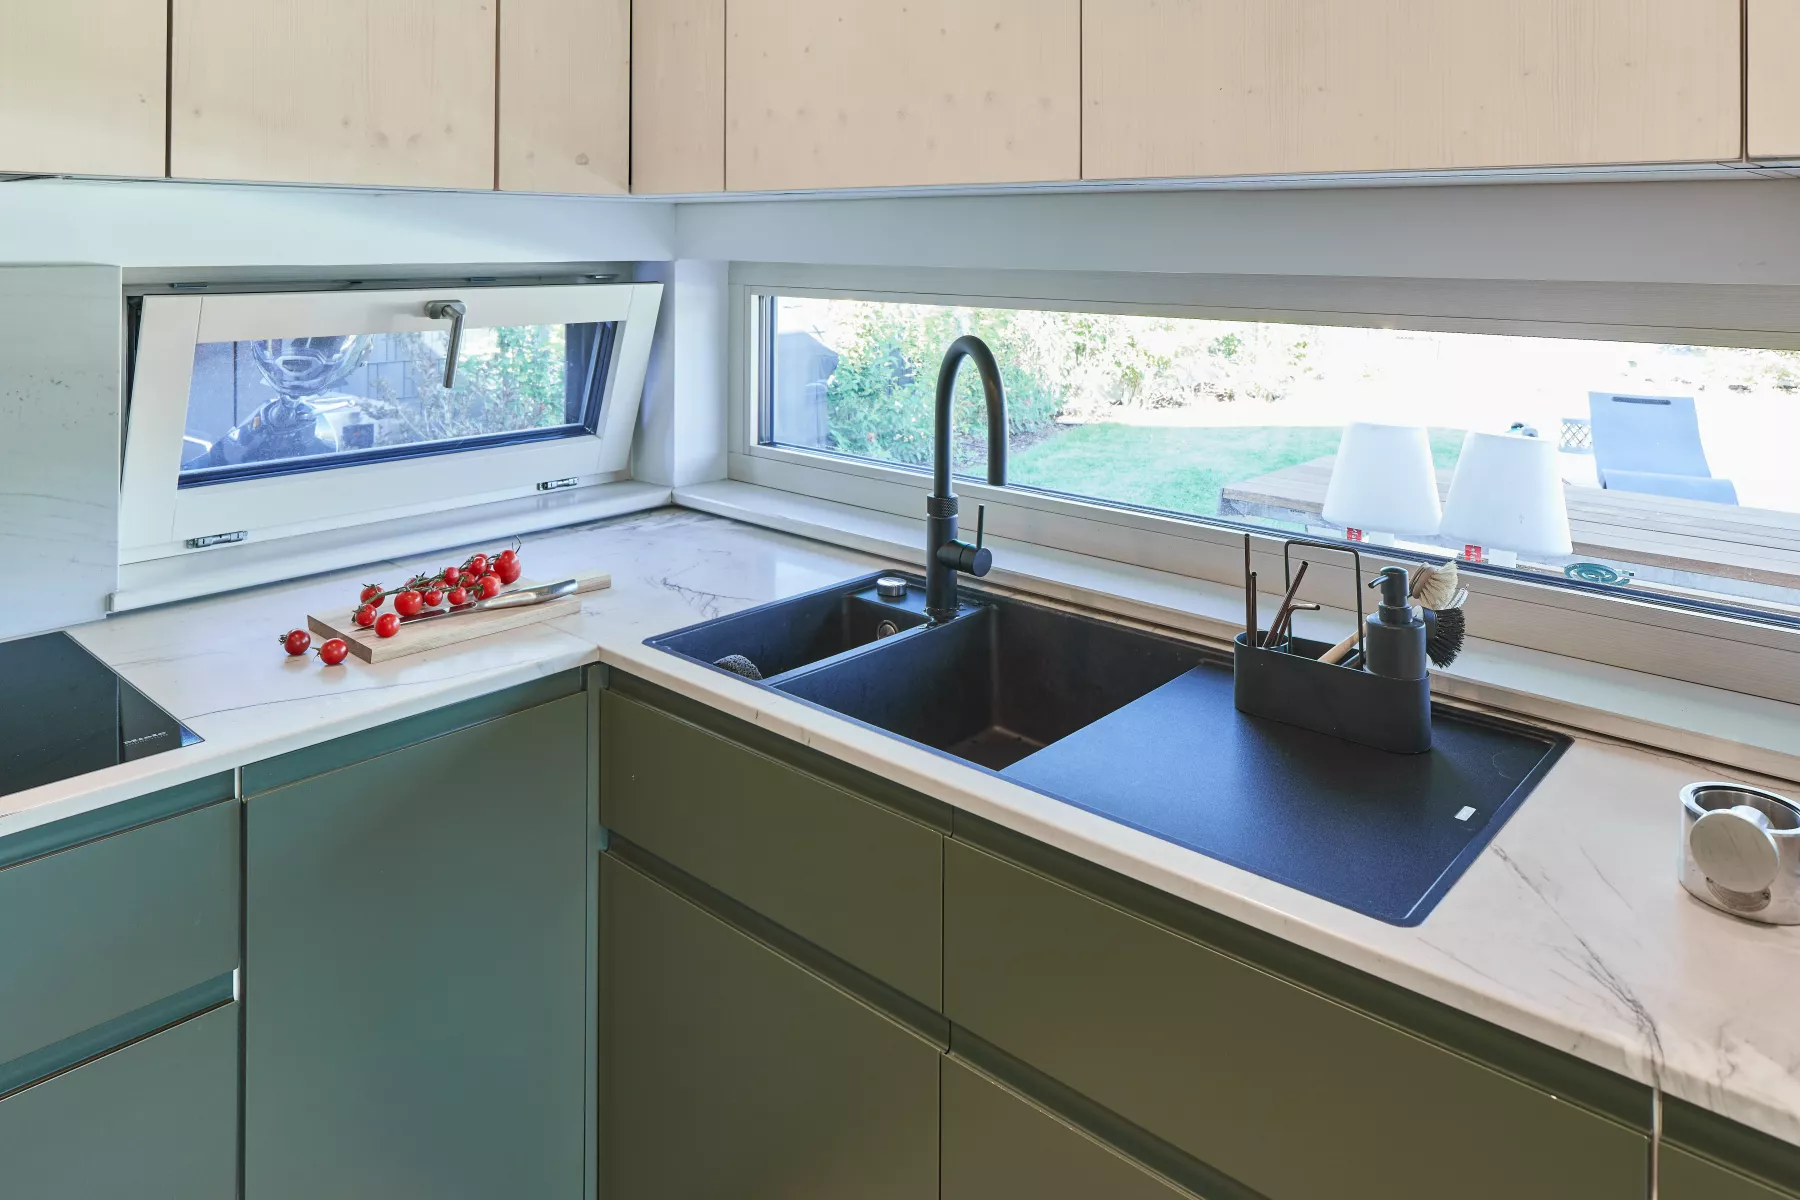
We offer window sills for outdoor use made of natural and artificial stone - marble, granite and much more. These products make your home look more elegant and impressive.
Our extensive range includes both exterior window sills made of natural stone and artificial stone.

On our 10.000m² large Showroom we have all natural and artificial stones ready for you. Come and visit us and let our experts advise you on our wide range of products during a free initial consultation.
Now free of charge Initial consultation secure!
A basic distinction is made between window sills for indoor and outdoor use.
The requirements for external window sills are much higher. They must be weather-resistant and drain water.
Of course, the renovation or redesign of your window sills should be long-lasting. For this reason, sills made of granite natural stone are particularly suitable. However, limestone, basalt or marble are also popular options for exterior window sills.
Your stone window sill should not only look good, but also be quick and easy to clean. Both natural stone and artificial stone are very easy to clean and maintain. The colors of the products are retained even with regular exposure to sunlight.
Exterior window sills have to withstand changing weather conditions. Whether it's sunlight, rain, hail or snow. The colors of your stone window sill will neither fade nor suffer dents.
Stone window sills can be individually designed and offer a wide range of options. The preferred color is grey, as it can always be visually integrated regardless of the façade wall. Granite is therefore the ideal natural stone. It is durable, robust and frost-resistant. However, marble, limestone and basalt are also very popular.
Window sills form the end between the window and the wall. On the outside, these are inclined outwards so that rainwater and condensation can drain away easily.
It is particularly important to ensure that the insulation is maintained.
It is also important to ensure that the window sill is fitted close to the façade and that the joint between the sill and window is well sealed. For this reason, installation by an experienced craftsman is recommended.
Once you have decided on stone window sills and we have satisfactorily clarified all the details in the free consultation, the window sills can be installed.
We will show you how to do this here in a short step-by-step guide:

Step 1: Attach connecting profiles
First, protective profiles are fitted. To prevent water from penetrating the wall construction, the connection profile is positioned in the middle of the window and the plaster connections are attached to the narrow sides of the window sill. During installation, a 1 cm expansion joint is left between the reveal and the window sill.
Step 2: Insulate
For thermal insulation and to avoid thermal bridges, the window sill is lined with insulating material, e.g. mineral wool.
Step 3: Apply mounting foam or mortar bed
A mortar board is more suitable for natural stone window sills in outdoor areas. Installation foam is generally less suitable for installing an outdoor sill and should therefore not be used for outdoor areas.
Step 4: Insert substructure & window sill
A horizontal substructure is now constructed using shims. The window sill is then placed on top and aligned to the front at an angle of 4 to 5 degrees using the wedges. The slope serves to allow rainwater to run off. Ideally, the window sill should be set approx. four centimetres above the window sill. This serves to keep the water away from the façade. Finally, the window sill is fixed in place with wedges and weights.
Step 5: Allow the assembly foam or mortar board to harden
The curing time is usually approx. 2 hours. After curing, the wedges and weights are removed.
Step 4: Grouting the window sill
Finally, the window frame and the window sill are grouted with silicone or acrylic.
Do you need more information? Contact us now Contact us up!
Opening hours: Mon to Fri: 8:00 - 12:00 and 13:00 - 18:00 | Saturday: 8:00 to 12:00
You can find news, current events, inspiration and much more on social media: